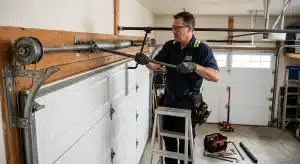
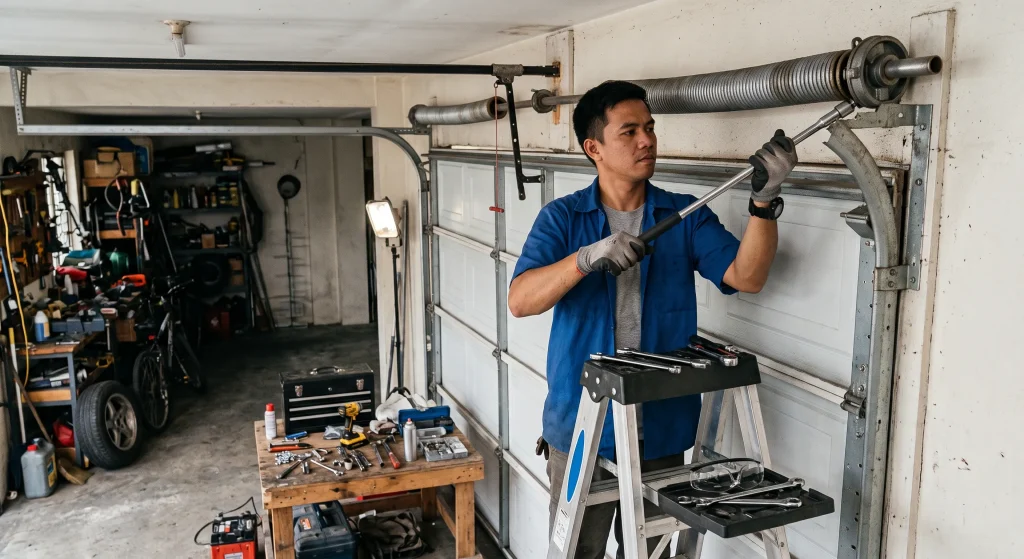
Replacing a garage door spring yourself can save on labor costs, but it means working with a part that’s under enough stored tension to cause a serious injury if handled incorrectly. The job involves identifying your spring type, securing the door, safely releasing tension, and installing a properly matched replacement, all without the specialized winding tools most homeowners don’t already own.
It’s a manageable project for someone comfortable with mechanical work and careful safety steps, but it’s also one of the most common ways people get hurt on a home repair, so know what you’re taking on before you start. This guide walks through the real steps for fixing broken garage door springs yourself, the tools you’ll actually need, and the point at which most homeowners are better off calling a professional instead.
Key Takeaways
- Torsion springs and extension springs require different tools and different replacement steps.
- Winding bars, not screwdrivers or improvised tools, are required to safely release and reset torsion spring tension.
- Securing the door in the closed position before releasing any tension is a non-negotiable safety step.
- Matching the new spring’s wire size, length, and cycle life to your old one is critical; a mismatched spring throws off the door’s balance.
- Most garage door springs last 7 to 12 years, or around 10,000 cycles, before they need replacing.
- If you’re unsure of any step, the tension involved, or whether you have the right spring, it’s safer to call a professional garage door service.
DIY Difficulty at a Glance
Spring Type | Tools Needed | Difficulty | Common Risk |
Torsion spring | Winding bars, socket wrench, ladder | High | Tension release, most injuries happen here |
Extension spring | Vice grips, pliers, ladder | Moderate | Pinch points, cable disconnection |
Either type | Tape measure, adjustable wrench | Required for both | Mismatched replacement part |
Signs of a Failing Garage Door Spring
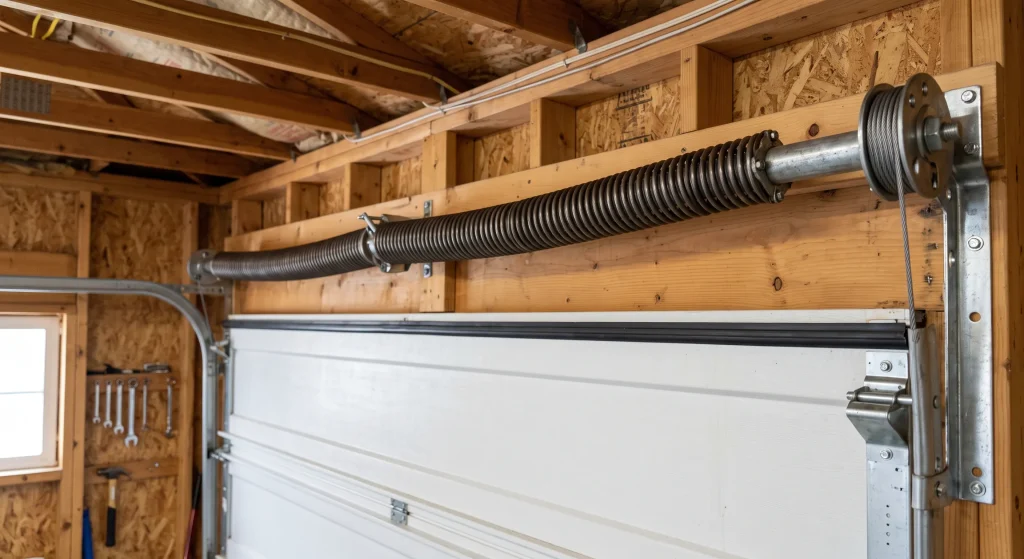
Several signs point to a spring that needs replacing soon, or one that’s already gone.
- The door is difficult to open or close, even with the opener’s help.
- The door feels unbalanced, with one side noticeably heavier than the other.
- The spring appears visibly worn, stretched, or gapped.
- The door drops quickly when opening or closes with a loud bang.
Catching these signs early gives you time to plan the repair instead of dealing with a full failure at the worst possible moment. For a closer look at what a full failure actually involves, read What Happens When a Garage Door Spring Breaks and Why It’s a Big Deal?
Different Types of Garage Door Springs
Before buying parts or picking up tools, you need to know which spring type your door actually uses, since the replacement process is different for each.
Torsion Springs
Torsion springs mount above the door and use torque to lift and lower it. They’re known for durability and smoother operation than extension springs, but they also carry the most tension of the two types. Because of that, hiring a professional to handle torsion spring replacement is often the safer call, even for otherwise capable DIYers. If you’d rather book that professional visit than tackle it yourself, Need Garage Door Spring Replacement? Quality Service Guaranteed in Oklahoma City, OK covers our full range of spring services.
Extension Springs
Extension springs sit on either side of the door and stretch as it opens and closes. They’re more affordable than torsion springs but tend to wear out faster, and older systems need regular maintenance to avoid a sudden, unexpected break.
Safety Tips for Garage Door Spring Replacement
Replacing a spring is dangerous if the tension isn’t managed correctly.
- Disconnect the opener so the door can’t move unexpectedly.
- Secure the door in the closed position with clamps or C-clamps so it can’t fall while you’re working.
- Wear gloves and safety glasses to protect against injury from the spring or surrounding hardware.
- Clear the work area of clutter to reduce the chance of an accident while maneuvering tools over head.
For a closer look at how the industry frames these same precautions, The Spruce’s guide to replacing garage door springs walks through comparable safety steps for both spring types.
Tools You’ll Need to Replace a Garage Door Spring
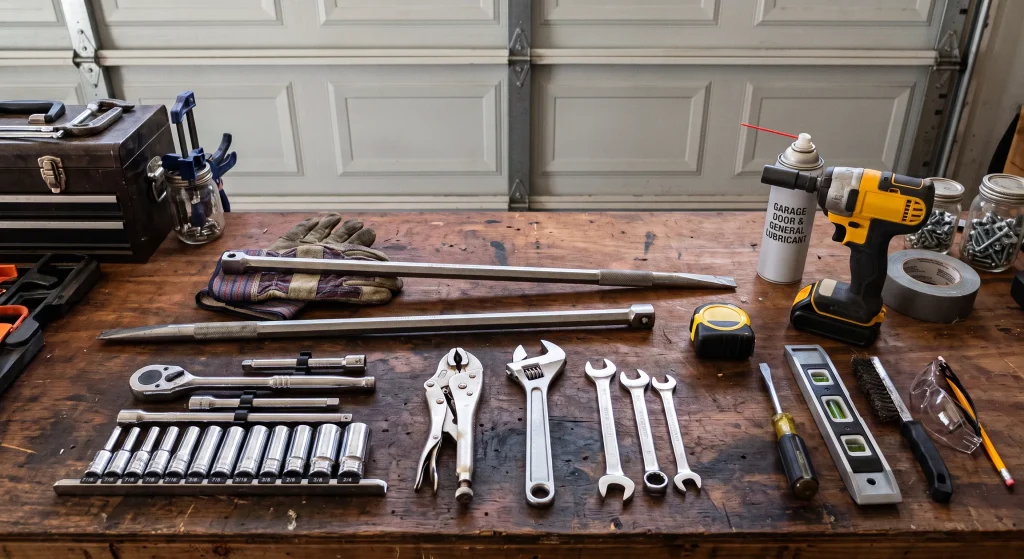
- Winding bars or vice grips: required for torsion springs (winding bars) or extension springs (vice grips); neither should be substituted with makeshift tools.
- Adjustable wrench and socket wrench set: handle the nuts, bolts, and mounting brackets.
- Pliers: help with smaller parts and cable adjustments.
- Tape measure: ensures the replacement spring matches your old one in length and wire size.
- Sturdy ladder: necessary to safely reach the springs mounted above the door.
Factoring in the cost of tools you don’t already own is worth doing before committing to DIY; read How Much Does It Cost to Replace a Garage Door Spring? for what professional service costs by comparison.
Simple Steps for Replacing a Garage Door Spring
The general process is similar for both spring types, though the specific tools and technique differ.
Replacing a Torsion Spring
- Secure the door in the closed position, then disconnect the opener and any attached hardware.
- Identify the torsion spring and note the number of turns it’s currently wound to, since the new spring needs to match that exactly.
- Use winding bars to carefully release the tension, then remove the old spring from the mounting bracket and lifting cables.
- Install the new spring in its place, winding it to the same number of turns as the old one.
- Reconnect the cables and hardware, then test the door to confirm it’s balanced and moving smoothly.
Replacing an Extension Spring
- Secure the door and disconnect the opener, just as you would for a torsion spring.
- Locate the extension springs and use vice grips to release their tension.
- Remove the springs from the pulleys and lifting cables.
- Install the new springs, making sure they’re properly aligned.
- Reconnect the cables and hardware, then test the door’s operation before considering the job finished.
Mistakes to Avoid When Replacing a Garage Door Spring
- Not properly securing the door before releasing spring tension.
- Failing to match the new spring’s turns or specs to the old one.
- Misaligning the spring during installation.
- Forgetting to reconnect the lifting cables or other hardware afterward.
Any one of these can leave the door unbalanced or, worse, create a genuine safety hazard. These same hazards are well documented in industry safety guidance; DASMA’s garage door safety tips cover the specific ways a mishandled spring replacement can go wrong.
Tips for Maintaining Your Garage Door Springs
- Regularly lubricate the springs and other moving parts with a silicone-based lubricant to reduce friction and wear.
- Inspect for rust, gaps, or other visible damage to catch a failing spring before it breaks entirely.
- Keep the door free of excess weight or modifications so the springs perform as intended.
- Have a technician service the full system every one to two years to catch smaller issues before they turn into a full spring failure.
If your door has already stopped responding despite regular upkeep, When a Garage Door Spring Breaks and Why the Door Suddenly Stops Working Properly explains what’s likely going on.
When to Contact a Pro for Garage Door Spring Replacement
Some of the steps above are straightforward for a capable DIYer, but plenty of situations call for professional help instead: unfamiliarity with high-tension springs, a lack of the right tools, an unusually large or heavy door, or simply not feeling confident about the process. None of these are things to push through on a job with this much risk attached.
CCM Overhead Doors is the go-to contractor for homeowners who’d rather have the job done right the first time, whether that’s a full replacement or a second opinion on parts you’ve already purchased. Technicians arrive with properly rated springs already matched to common door weights and sizes, so there’s no guessing involved in picking the right part. Most visits are completed same-day, which is often faster than sourcing the correct spring yourself and troubleshooting the install. Contact us or give us a call for fast, reliable service.