Garage door openers are a convenient and essential part of our everyday lives, providing easy access to our homes. However, like any mechanical device, they can experience issues from time to time. Understanding how to troubleshoot common problems can save both time and money. In this step-by-step guide, we will explore the most common issues with garage door openers and provide you with a comprehensive troubleshooting process to fix them.
Common Issues with Garage Door Openers
Before diving into the troubleshooting process, it’s essential to familiarize yourself with some of the common problems that can occur with garage door openers. By identifying these issues, you can better understand the potential causes and solutions.
One common issue is the garage door opener not responding to the remote control. This can be frustrating when you are trying to open or close your garage door. Another problem is the garage door opener not functioning when using the wall switch. This issue may indicate a problem with the opener’s electrical circuitry. Additionally, the safety sensors, which are designed to prevent the door from closing on objects or people, can also malfunction. Other issues include a noisy or slow-opening garage door, as well as a door that reverses after closing.
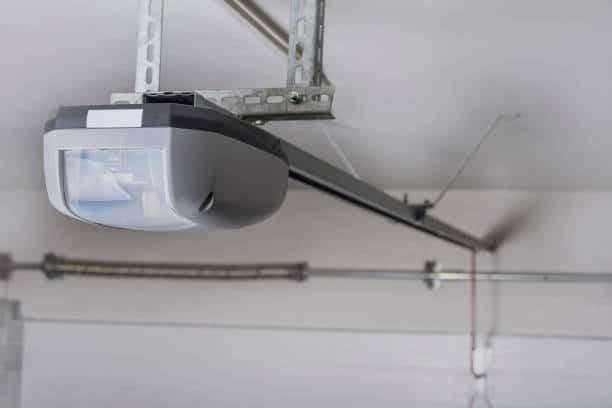
Step 1: Checking the Power Source
The first step in troubleshooting your garage door opener is checking the power source. Ensure that the opener is plugged in and that there is power reaching the outlet. If the opener is hardwired, check the circuit breaker to ensure it hasn’t tripped. If the power source is not the issue, move on to the next step.
Step 2: Inspecting the Remote Control
If your garage door opener is not responding to the remote control, the problem may lie with the remote itself. Start by replacing the batteries in the remote and testing it again. If the remote still doesn’t work, try reprogramming it according to the manufacturer’s instructions. If none of these steps resolve the issue, it may be time to consider purchasing a new remote control.
Step 3: Testing the Wall Switch
If your garage door opener is not functioning when using the wall switch, there may be an issue with the electrical circuitry. Begin by inspecting the wiring connections between the wall switch and the opener. Ensure that all wires are securely connected and that there are no signs of damage. If the wiring appears to be intact, you may need to replace the wall switch itself.
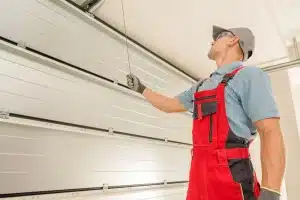
Step 4: Evaluating the Safety Sensors
The safety sensors on your garage door opener are designed to detect objects or people in the path of the door, preventing it from closing and causing potential harm. If your garage door is not closing or if it reverses immediately after closing, the safety sensors may be the culprit. Start by checking for any obstructions in front of the sensors, such as dirt or debris. Clean the sensors and ensure they are properly aligned. If the issue persists, there may be a problem with the sensors themselves, and they may need to be replaced.
Step 5: Lubricating the Garage Door Opener
A noisy or slow-opening garage door can be a sign of insufficient lubrication. To address this issue, apply a silicone-based lubricant to the rollers, hinges, and springs of the garage door. Avoid using oil-based lubricants, as they can attract dirt and debris, leading to potential issues down the line. Lubricating the garage door opener regularly can help ensure smooth operation and prevent unnecessary wear and tear.
Step 6: Adjusting the Travel and Force Settings
If your garage door is not opening or closing all the way, or if it is reversing before reaching the fully closed or open position, you may need to adjust the travel and force settings on your opener. Consult your opener’s user manual for instructions on how to make these adjustments. Be cautious when adjusting the force settings, as setting them too high can pose a safety risk. It’s always best to follow the manufacturer’s guidelines.
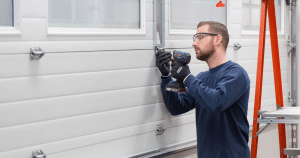
Step 7: Replacing Worn-Out Parts
Over time, the components of your garage door opener can wear out and require replacement. This can include the springs, cables, rollers, and other moving parts. If you notice any signs of damage or wear, such as frayed cables or rusty springs, it may be necessary to replace these parts. Consult a professional or refer to your opener’s user manual for guidance on replacing worn-out components.
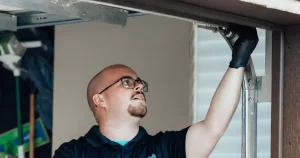
Step 8: Calling a Professional for Complex Issues
While many garage door opener issues can be resolved through troubleshooting and DIY repairs, there may be complex issues that require the expertise of a professional. If you have followed all the previous steps and the problem persists, it’s time to call in a garage door repair specialist. They have the knowledge and experience to diagnose and fix more complicated problems safely.
Preventive Maintenance Tips for Garage Door Openers
In addition to troubleshooting and fixing common issues, it’s essential to perform regular preventive maintenance on your garage door opener to prolong its lifespan and prevent future problems. Here are a few tips to keep your opener in optimal condition:
- Keep the tracks clean and free from debris.
- Check the tension of the springs regularly and adjust if necessary.
- Inspect the cables for signs of wear and replace as needed.
- Test the safety sensors periodically to ensure they are functioning correctly.
- Lubricate the moving parts of the garage door opener annually or as recommended by the manufacturer.
By following these preventive maintenance tips, you can minimize the risk of unexpected issues and keep your garage door opener operating smoothly.
Conclusion
Garage door opener troubleshooting doesn’t have to be a daunting task. By following this step-by-step guide, you can identify and fix common issues with your opener, saving both time and money. Remember to start with the basics, such as checking the power source and inspecting the remote control, before moving on to more complex troubleshooting steps. And don’t forget the importance of regular preventive maintenance to keep your garage door opener in top shape. If all else fails, don’t hesitate to reach out to a professional garage door opener repair in Oklahoma City OK for assistance. With the right knowledge and approach, you can ensure that your garage door opener operates reliably for years to come.
If you require professional assistance with your garage door opener troubleshooting or repairs, don’t hesitate to contact our experts at CCM Overhead Door. With our expertise and experience, they can diagnose and fix any complex issues you may be facing. Visit our website or call their hotline to schedule an appointment and get your garage door opener back in working order.